Digital Tutors - Combining Painted and Image-Based Textures in MARI
Digital Tutors - 在MARI中绘制基于图片的纹理
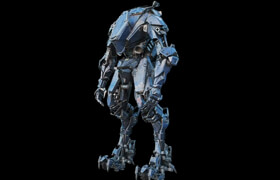
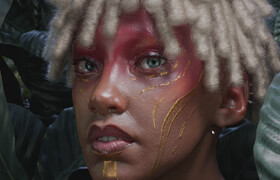
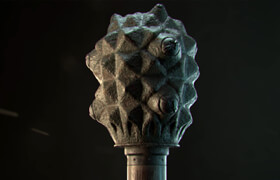
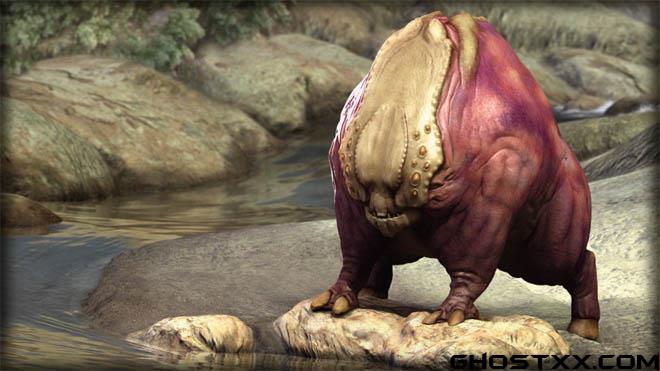
For many artists, the idea of painting with images is a rather strange one. In their minds, paint is something that comes out of a tub and images come out of a camera. In this tutorial we will see that MARI does an amazing job at blurring the line between the two to create finished textures for 3D assets.
To get started we will first create an underpainting for our model. We'll learn that this will help us to fill in the gaps in our textures while establishing an order of how we will layer in our color. From here we will learn how to pick appropriate images and paint them onto the surfaces of our model.
Often times, where many artists struggle is trying to successfully blend their photographic textures with hand painted ones. With that said, the rest of this training will be focused on just that. We will learn how layers, brush properties, adjustment stacks and even masks can help us to accomplish this.
After finishing this tutorial, you will have learned some really valuable tips and tricks for putting photos right next to your hand-painted textures and making it look like they belong together.
描述:
标签: 教程 贴图 材质 纹理分类:教程 > 3D教程 > MARI
发布:CGer | 查看: | 发表时间:2014/7/12 21:54:19 | 更新时间:2025/4/4 23:53:19
| 常见问题,点击查询: | ||
| ●CGer(Cg儿)资源下载帮助 | ||
| ●资源名词解释 | ||
| ●注册/登陆问题 | ||
| ●充值出错/修改密码/忘记密码 | ||
| ●充值赠送系统 | ||
| ●文件解压出错/解压密码 | ||
| ●Payment with Paypal | ||
| ●哪些资源会被列为付费资源 | ||
| ●为何要充值解锁 | ||
| ●免责条款 | ||
| ●联系站长(联系站长前请先仔细阅读 免责条款 ,网站只提供资源,不提供软件安装等服务!) | ||


